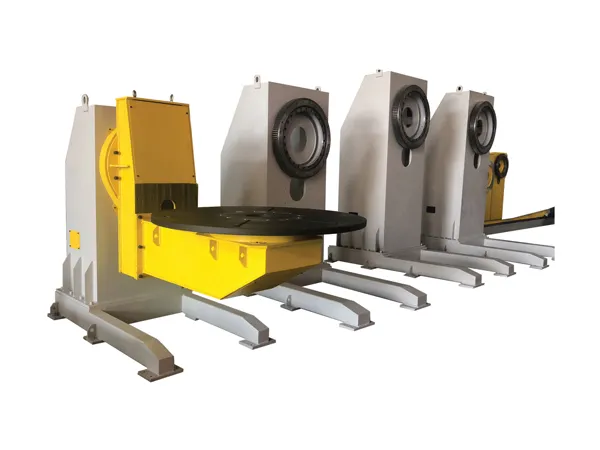
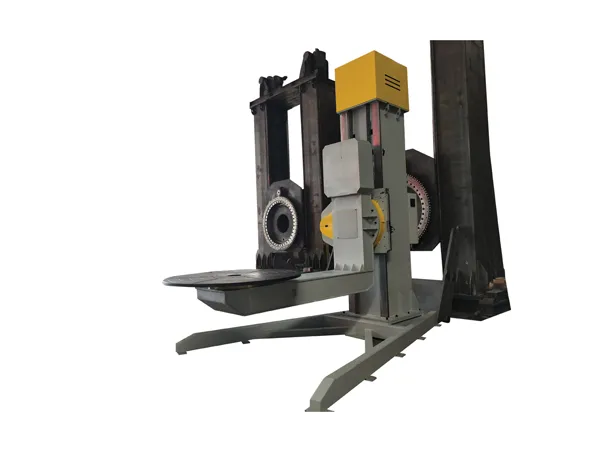
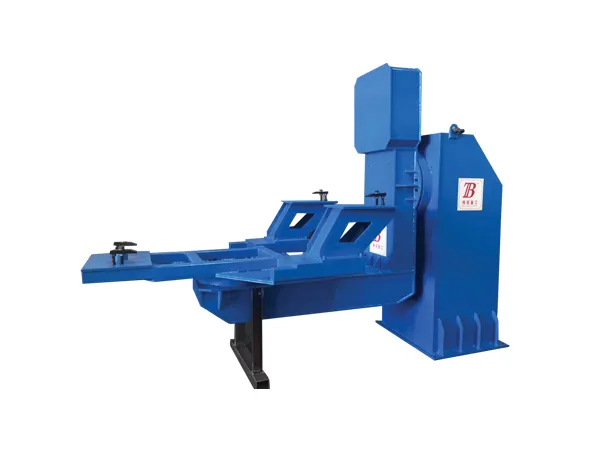
Proper maintenance of a welding positioner is crucial for ensuring its longevity, accuracy, safety, and reliable performance. Neglecting maintenance can lead to breakdowns, inaccurate positioning, potential safety hazards, and costly repairs.

This is the most important tip. Always refer to the specific operation and maintenance manual provided by the positioner's manufacturer. It will detail specific lubrication points, lubricant types, inspection schedules, and procedures tailored to your model.
Daily/Shiftly: Wipe down the positioner, especially the turntable/faceplate, control panel, and visible moving parts.
Remove Weld Spatter: Spatter can interfere with grounding, damage surfaces, clog T-slots, and hinder smooth operation. Use appropriate tools (spatter scrapers, wire brushes) carefully to avoid damaging surfaces.
Keep Electrical Cabinets Clean: Periodically (as recommended, and with power LOCKED OUT), check for dust buildup inside control cabinets, which can cause overheating or short circuits. Use compressed air or a vacuum carefully.
Adhere to Schedule: Follow the manufacturer's lubrication schedule religiously. This often includes lubricating gearbox(es), bearings, tilt mechanisms (like screw jacks or hydraulic cylinders), and rotation drives.
Use Correct Lubricants: Always use the type and grade of oil or grease specified by the manufacturer. Using the wrong lubricant can cause damage or premature wear.
Check Fluid Levels: Regularly check oil levels in gearboxes and hydraulic reservoirs (if applicable). Top up as needed.
Grease Fittings: Clean grease fittings (zerks) before applying grease to prevent injecting contaminants. Apply grease until fresh grease begins to emerge (or as specified). Wipe off excess grease.

Fasteners: Regularly check critical bolts and fasteners for tightness, including:
Mounting bolts securing the positioner to the floor.
Bolts securing the turntable/faceplate.
Motor and gearbox mounting bolts.
Turntable/Faceplate: Inspect for flatness, damage, and wear. Ensure T-slots or chuck mounting points are clean and undamaged.
Bearings: Listen for unusual noises (grinding, whining, clicking) during rotation and tilt, which could indicate bearing wear or failure. Check for excessive play or roughness.
Drive System (Rotation & Tilt):
Inspect gears for wear, broken teeth, or damage.
Check drive chains or belts (if applicable) for proper tension, wear, and lubrication.
Listen for unusual noises from motors and gearboxes.
Tilt Mechanism: Inspect tilt screws, gears, or hydraulic cylinders/hoses for wear, damage, or leaks.
Backlash: Check for excessive play (backlash) in both the rotation and tilt axes. Some backlash is normal, but excessive amounts can indicate wear in the gearbox or drive components and affect positioning accuracy.
Wiring and Cables: Inspect all electrical cables (power, control pendant, foot pedal, grounding) for cuts, chafing, burns, or loose connections. Ensure proper strain relief.
Controls: Test all functions on the control pendant or panel (start, stop, speed control, direction, tilt). Ensure emergency stops function correctly.
Grounding: This is CRITICAL for welding. Ensure the welding ground connection point on the positioner is clean and the grounding cable clamp makes excellent contact. Inspect the rotary ground mechanism (if internal) or the external ground cable path for wear and conductivity. Poor grounding can damage positioner bearings and electronics.
Limit Switches/Sensors: Verify that any safety or positioning limit switches are functioning correctly.

Smooth Operation: Operate the positioner through its full range of motion (rotation and tilt) periodically. Check for smooth, consistent movement without binding or jerking.
Speed Control: Verify that speed adjustments work correctly and consistently.
Load Capacity: Do not exceed the positioner's rated load capacity or center of gravity limits. Overloading causes excessive wear and potential failure.
Guards: Ensure all safety guards are in place and secure.
Emergency Stops: Test E-stop buttons regularly.
Warning Labels: Make sure all safety and operational warning labels are present and legible.
Lockout/Tagout (LOTO): Always follow proper LOTO procedures before performing any maintenance or repairs where unexpected energization could occur.
Maintain a logbook for each positioner, recording all maintenance activities (inspections, lubrication, repairs), dates, and findings. This helps track history, identify recurring issues, and schedule future maintenance.
Ensure operators are trained not only in using the positioner but also in performing basic daily checks and recognizing signs of potential problems (unusual noises, jerky movements, etc.).
By implementing a consistent maintenance routine based on these tips and the manufacturer's recommendations, you can significantly extend the life of your welding positioner and ensure it remains a safe and productive tool.
What are the types of welding rotators?
No information
No. 1 Intersection of Chuangye Avenue and Weilai Avenue,
Yiyang County,Luoyang City, Henan Province, China
+86 400-0379-069
Copyright © 2023 An Automated Welding and Cutting Equipment Manufacturer Focusing on Welding Column Boom and Welding Rotator | All Rights Reserved Technical support: ShangXian